
Xiaomi devices excel at packing powerful specs in affordable packages. But there’s something about their LCD screens that’s a bit disappointing. People have complained about the way they suffer from screen burn-in issues.
When you use an app for long on the Xiaomi Mi A1 or Redmi Note 4, for example, the screen retains images even after you exit.
True, this doesn’t affect the phone’s usage in a significant way. But it definitely makes the experience less enjoyable.
The debate is on whether screen burn-in is a software- or hardware-related issue. Well, it can’t be a hardware issue. See, many devices use LCD screens. But not all suffer from image retention. Plus, modders have come up with ways of reducing the problem using software tweaks. It thus shows that the issue is a matter of how manufacturers calibrate their screens.
The Mi A1s featuring Tianma LCD screens are susceptible to ghosting. By contrast, it is rare to hear of the same from those using BOE panels.
How would you know the LCD variant your phone uses?
- Open
SettingsthenAbout phone - Tap
Kernel versionfive times - Choose option
1
If you see something like mdss_dsi_nt35532, then your phone uses a BOE LCD. Those reading mdss_dsi_nt35596 are by Tianma.
If you have the guts, there’s also a way of identifying LCD variants by opening up a phone’s internals.
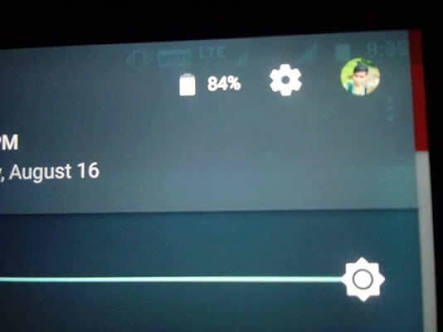
All the same, the problem seems to mostly affect the notification area.
See the shot below.
Screen ghosting isn’t limited to Xiaomi devices alone. Google’s own Pixel phones have been displaying these issues too. Pixel 2 XL users, for instance, have reported that their devices suffer from ghosting.
What Causes Screen Burn-in?
Leaving an image displaying on the panel for an extended period of time is usually the main cause. Yet that’s unavoidable in some cases. Take the notification area, for example. This element shows regardless of what app you’ve opened. So it’s hard to avoid having this area burning-in to the display.
Granted, Android has ways of changing the hue of the notification area. Still, if you ask users, the OS’ approach hasn’t made the problem go away.
Static UI elements continue to be a common feature in both the pure Android experience and MIUI. These increase the possibility of services leaving ghost images on the screen.
But as the points below show, there are ways of preventing the issue in the first place.
How to Prevent Screen Burn-in
Preventing screen ghosting boils down to reducing the time any UI element displays. Reducing the brightness of the entire panel also seems to help.
1. Deal with Brightness
Mi A1 users have the Adaptive Brightness option for setting auto brightness. And the Redmi Note 4 has the Automatic mode in the display settings.
These two promise to change panel brightness according to ambient lighting. Yet, some users have found them ineffective at best.
So, a viable option would be to install apps to replace the native offerings. See examples below.
- Lux Lite: com.vitocassisi.luxlite.apk or from Play Store link
- Velis Auto Brightness: com.velis.auto.brightness.apk or from Play Store link
2. Reduce Screen Timeout
It is even better to make the screen stay on for as short a time as possible. When you use this option with the auto brightness feature, you reduce the stress on the device’s panel considerably.
The option is somewhat straightforward on the Mi A1. But, as you’ll see in a second, it takes a bit more work on the Redmi Note 4.
On the Redmi Note 4 (MIUI)
- Go to
Settings,System & Device, thenLock screen & password - Press
Sleep - Change it to a faster timeout value, say, sleep after 2 minutes
On the Mi A1 (Android One)
- Go to
Display, thenSleep - Change the
Sleepsetting to the desired value
But what if you want to get the Screen timeout option on the quick tiles?
You’d have to install an app that exposes Quick Settings Tile API. One such app is Quick Settings. Download or find it in the links below.
- Quick Settings: it.simonesestito.ntiles.apk or from its Play Store link
3. Disable Navigation Bar on Redmi Note 4
Whereas the navigation bar on the Mi A1 is physical, the one on the Redmi Note 4 shows on the screen.
So, since the bar is prone to leaving artifacts on the panel, you’d have to make it show when you want it to. Here’s how to do it:
First, find the Buttons option on the quick settings/toggle panel.
What if it’s not on that panel already?
- Go to
Settings,Notifications & status bar, thenToggle positions - Drag the
Buttonstoggle button to the quick settings bar
Otherwise, you can also set when you want the navigation buttons to show. For this you’ll need to:
- Go to
Additional settings,Buttons, thenAutomatically disable navigation buttons
Once there, you can set the apps you’d want the navigation bar to show.
Well, these tips work when your screen doesn’t have burn-in showing in the first place. But what if you’re LCD has image retention issues already? Read on to see how you can fix it.
How to Fix Screen Burn-in
Users have reported varying levels of success when remedying screen burn-in. It all depends on how bad the problem is on your device. If it’s a trivial matter, apps could reduce ghosting for you.
But, when the issue is persistent you may have to consider installing a custom ROM. The good thing about this approach is that it gives you more control over how your screen behaves.
Using Apps
Using apps is only a matter of installing a given option and testing it out on your device. Here are some options:
- LCD Burn-in Wiper: appinventor.ai_avaworks00.LCDBurnInWiper.apk or from its Play Store link
- Display Tester: com.gombosdev.displaytester.apk or from its Play Store link
Using Custom ROMs
Custom ROMs are excellent at using tweaks to deal with issues that users complain about.
Take LineageOS, for example. It has inbuilt protection against screen burn-in. See the pertinent code below.
<dimen name="burnin_protection_horizontal_shift">3dp</dimen>
<dimen name="burnin_protection_vertical_shift">1dp</dimen>
So, if you have LineageOS running on your device, you’re in luck.
When the problem is nonetheless evident, you may have to resort to color calibration.
How to Calibrate Color on the LineageOS ROM (and other AOSP-based ROMs)
- Go to
Settings, thenColor calibration - Increase the RGB values to a value higher than 90%. See the screenshot below.

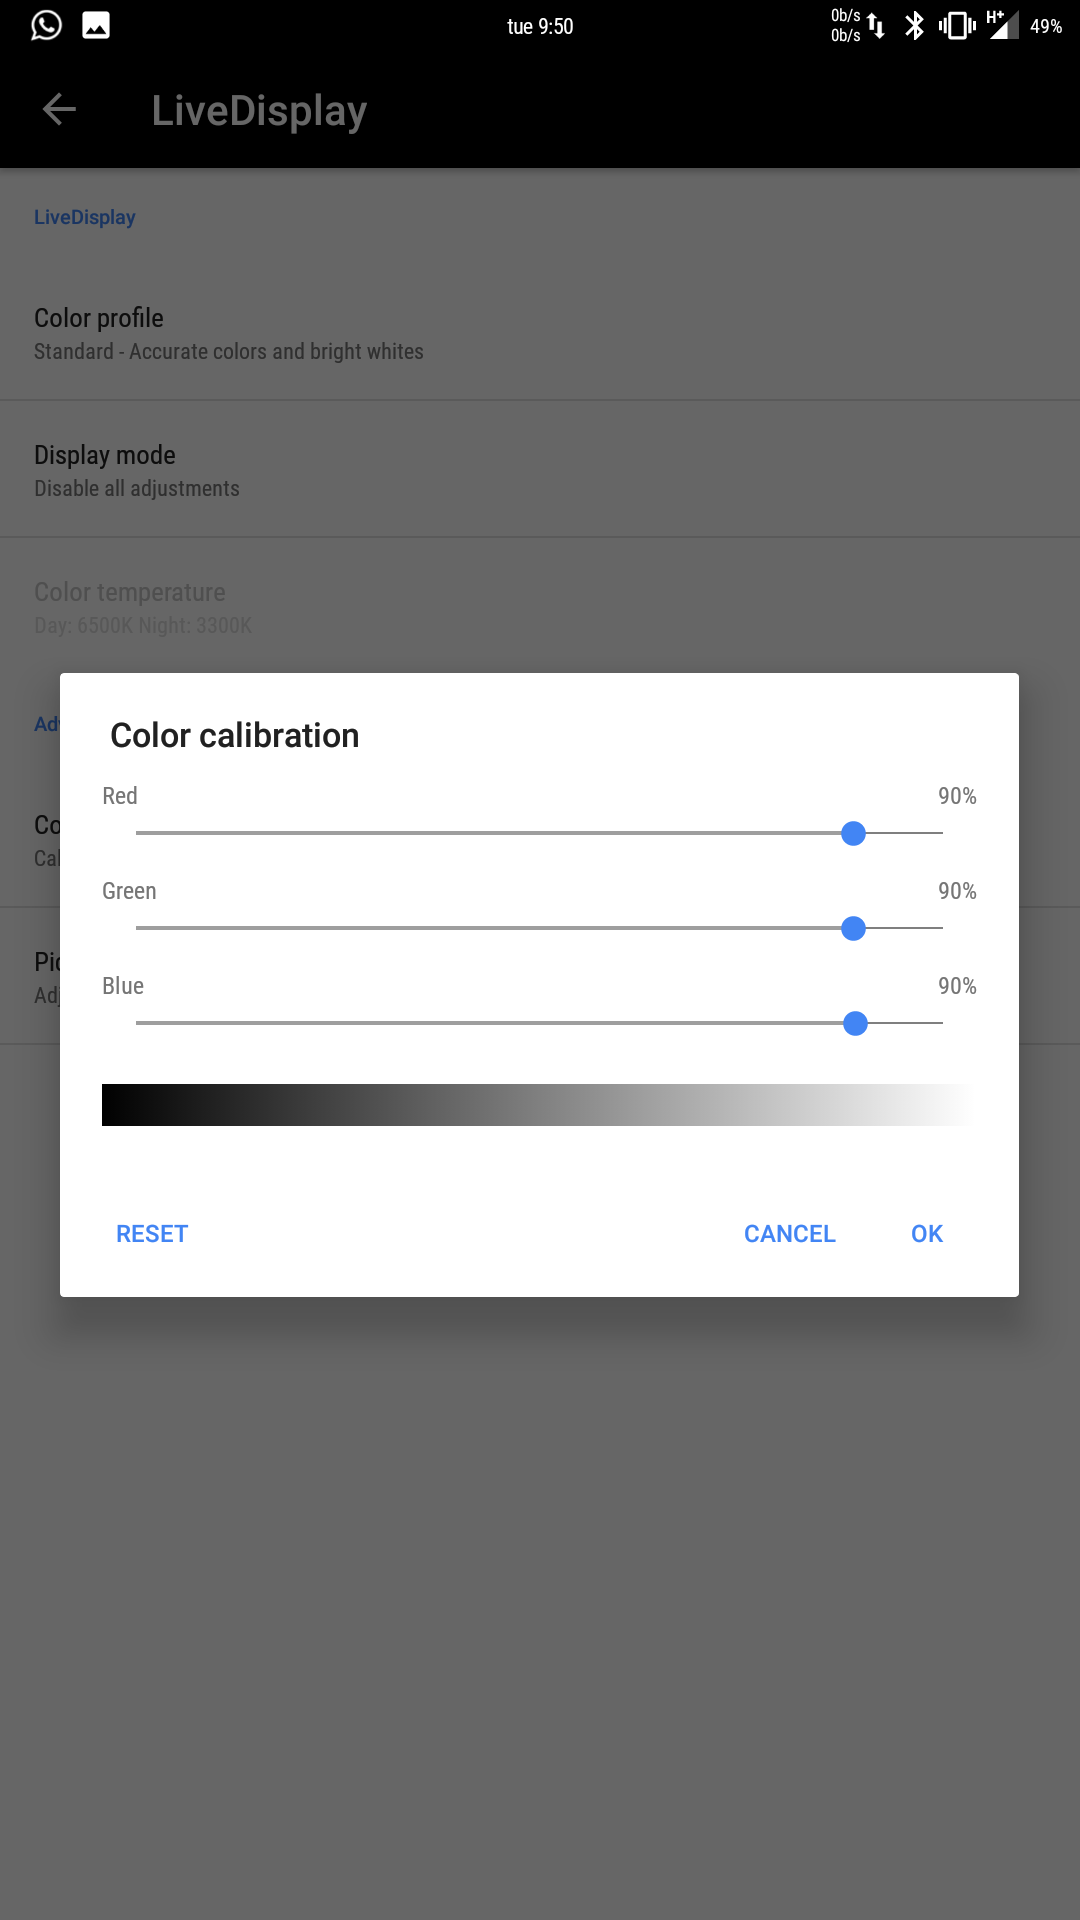
How to Calibrate Color on the Resurrection Remix ROM
1. Go to Settings then Display
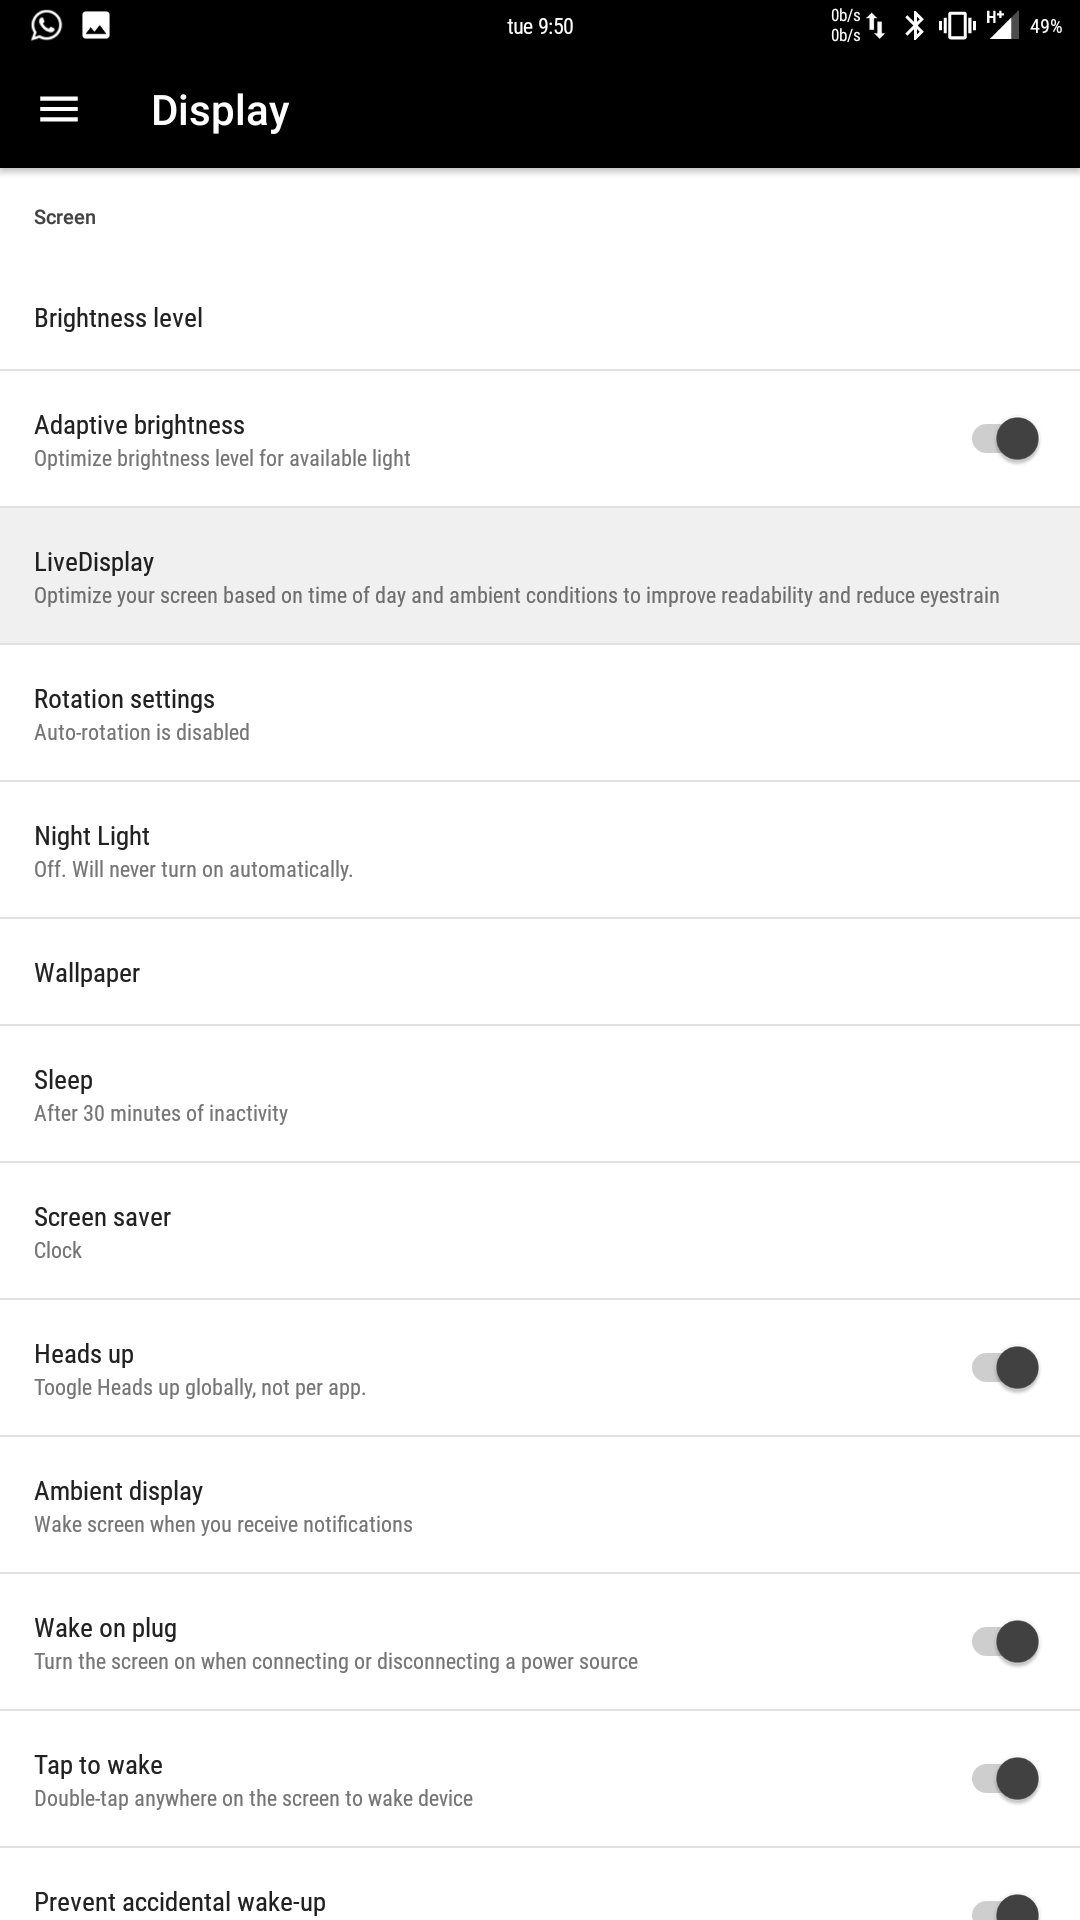
2. Press LiveDisplay, then Color calibration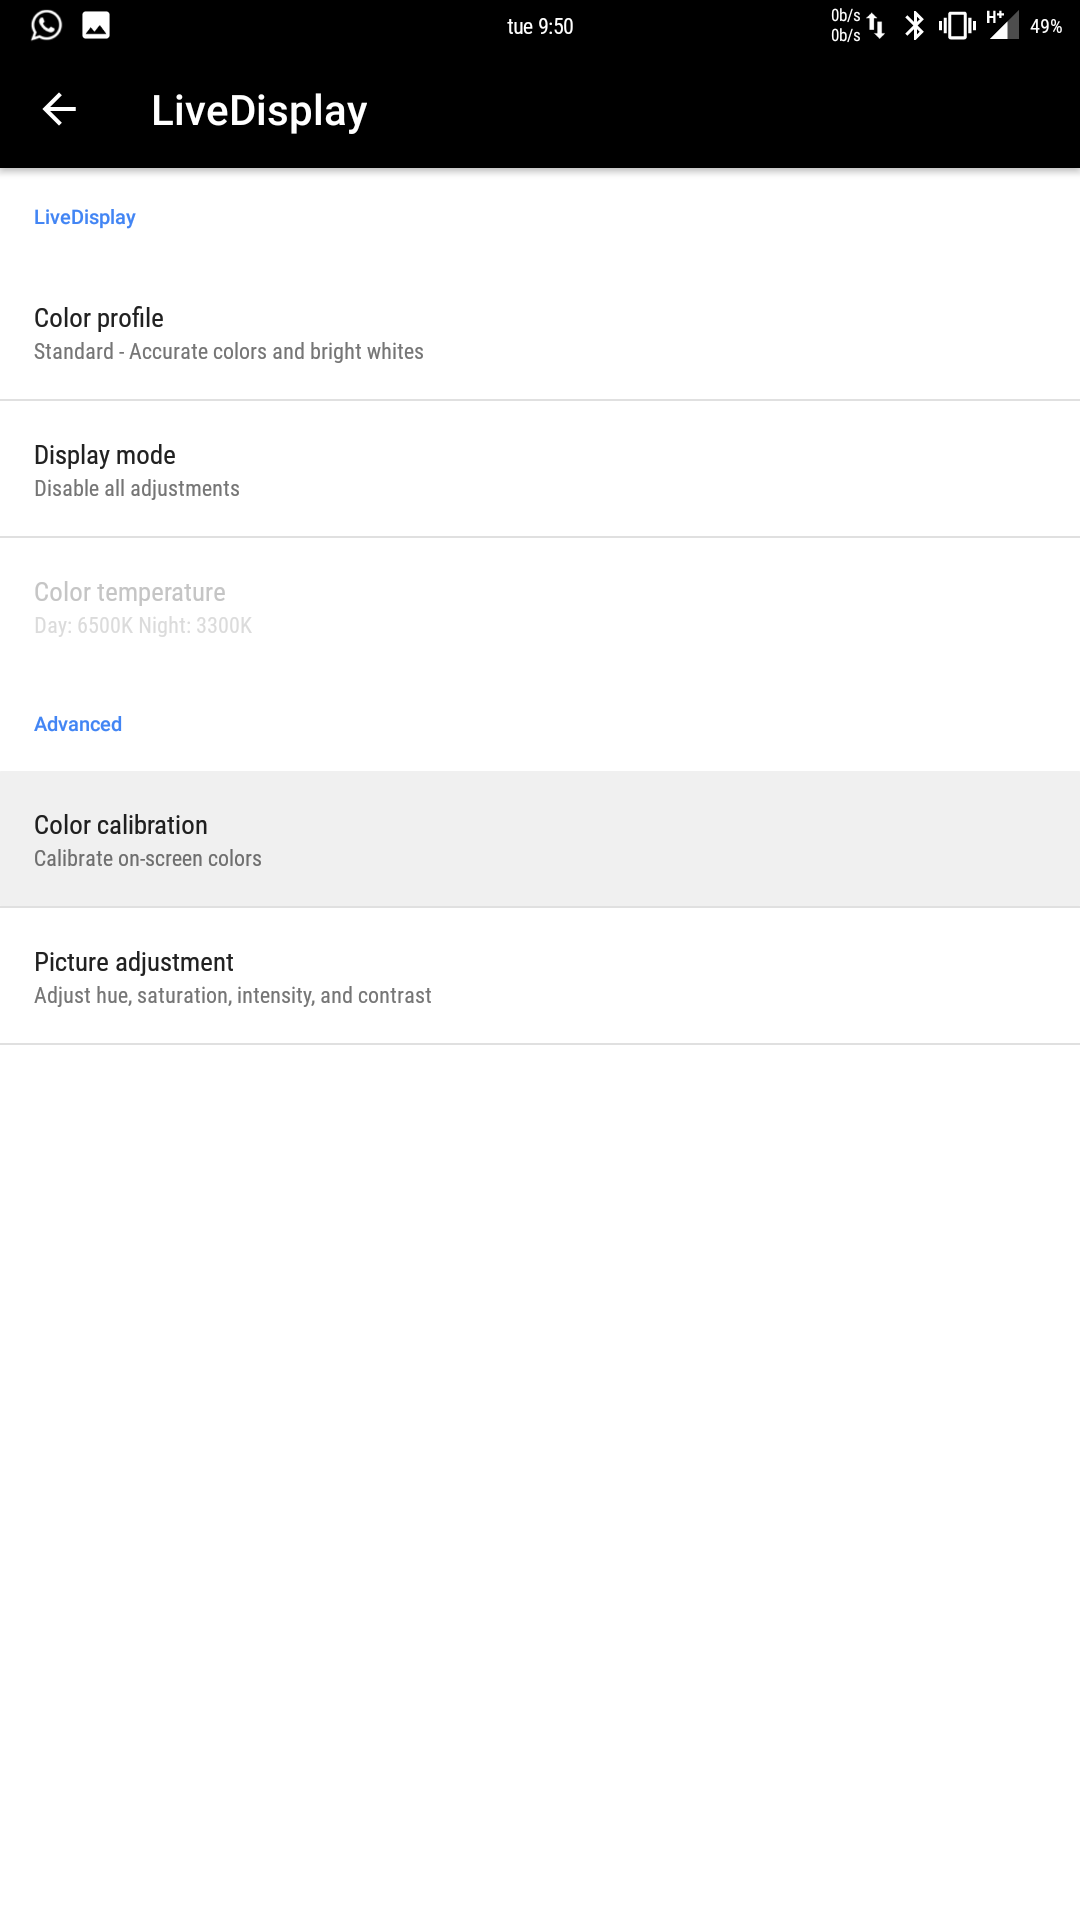 3. Set the all the RGB values to anything higher than 90%
 Thanks: Reddit user IuliusDeBlobbis
Using a kernel tweaking tool
If your Mi A1 or Redmi Note 4 has root access, this method may work for you.
Related: [Guide] How to Root Xiaomi Mi A1
- Install a kernel tweak tool. An excellent app is the Kernel Adiutor. (And yes, “Adiutor” is the correct spelling.) See links below.
- Kernel Adiutor: com.grarak.kerneladiutor.apk or from its Play Store link
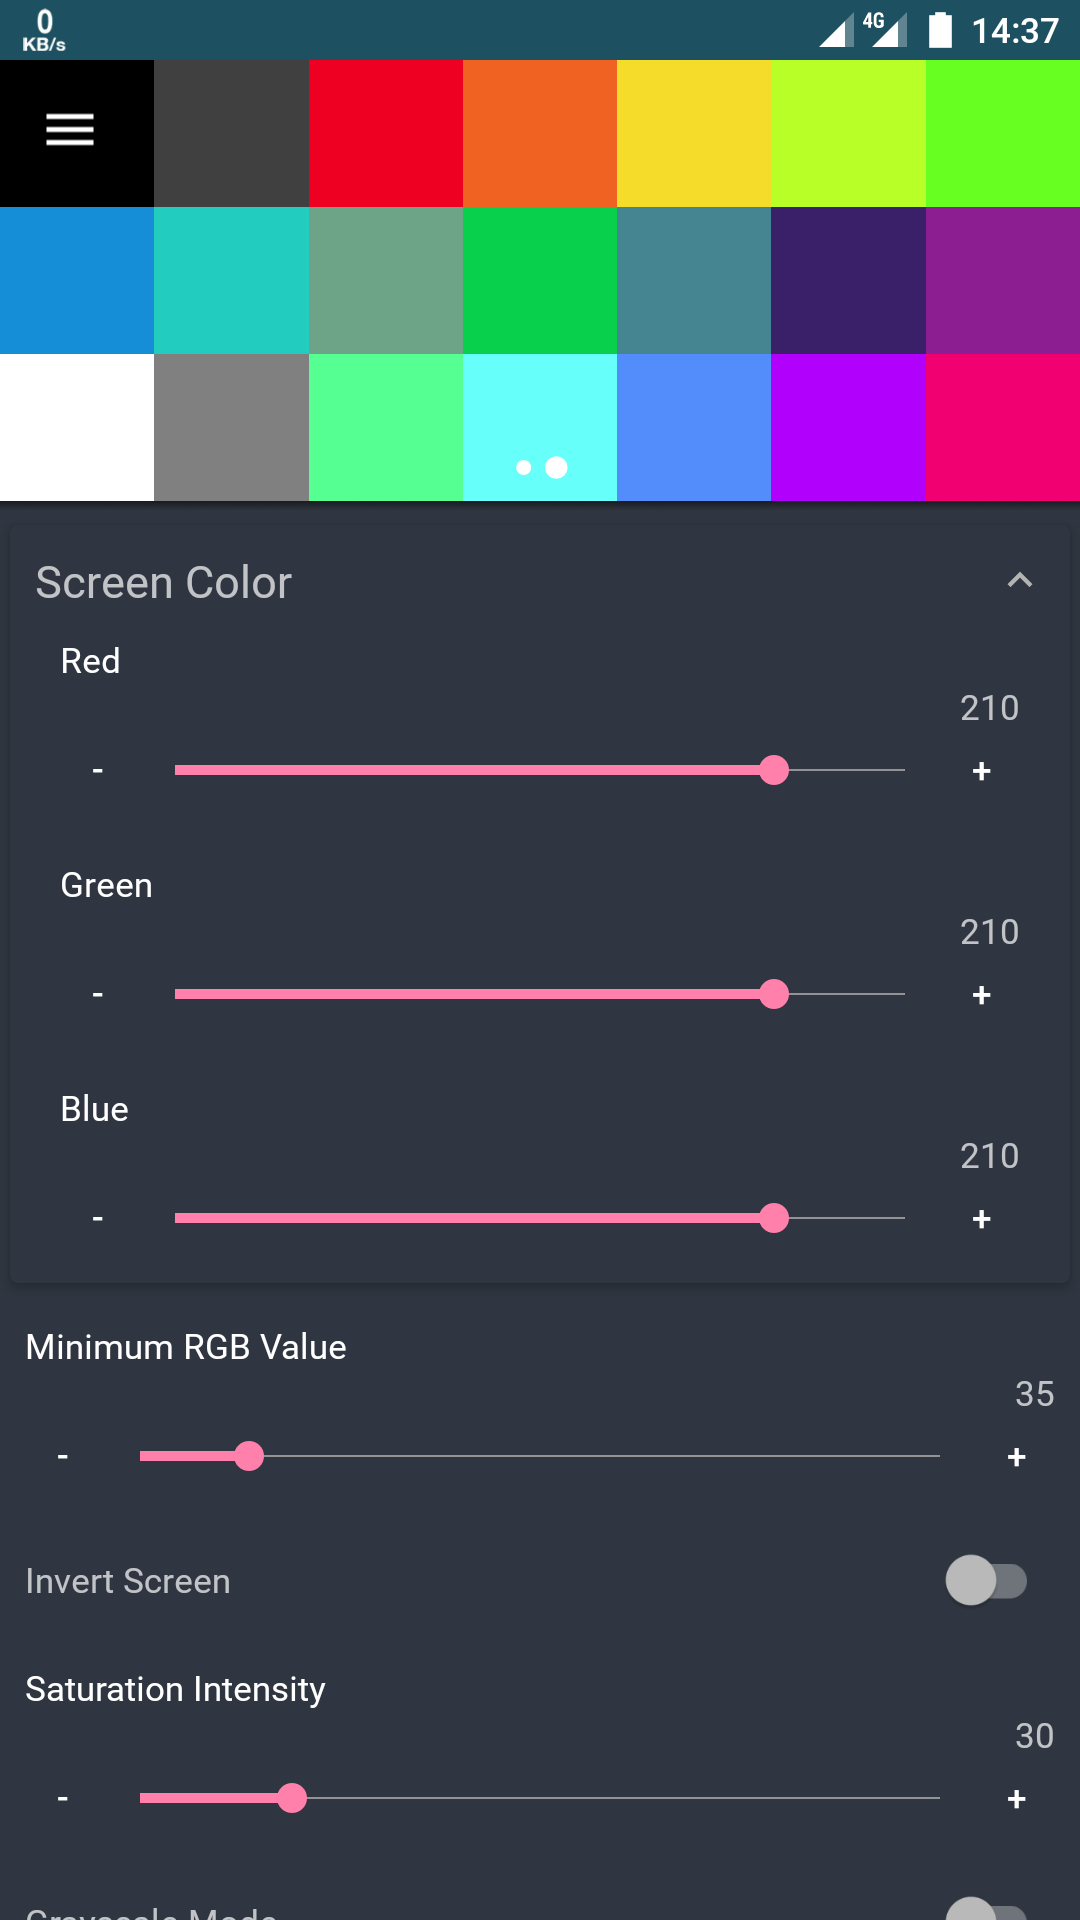
- After installation, open the app and navigate to
Screen (Color Calibration [RGB]) - Set the RGB values to something higher than 230. (This is equal to 90% of the max RGB value of 255—see screenshot below.)
- Reboot to apply the changes
Final Thoughts
Screen burn-in affects how you enjoy a device’s usage. Some people may not be as keen to note it. But, in a high-res panel, ghost images are usually annoying.
Luckily, there are ways of reducing the chances of a screen ever showing ghosting. They include reducing the brightness and making screens to timeout faster.
If your device suffers from screen burn-in already, some apps may help you solve such an issue.
But, it’s recommended to install a custom ROM if you want greater control over how a panel behaves. And for those with root access, kernel auditors may remedy ghosting issues better.
Over to you: What steps are you taking to prevent screen burn-in? Have these tips worked for you? Share your experiences and suggestions in the comments below.